Introduction
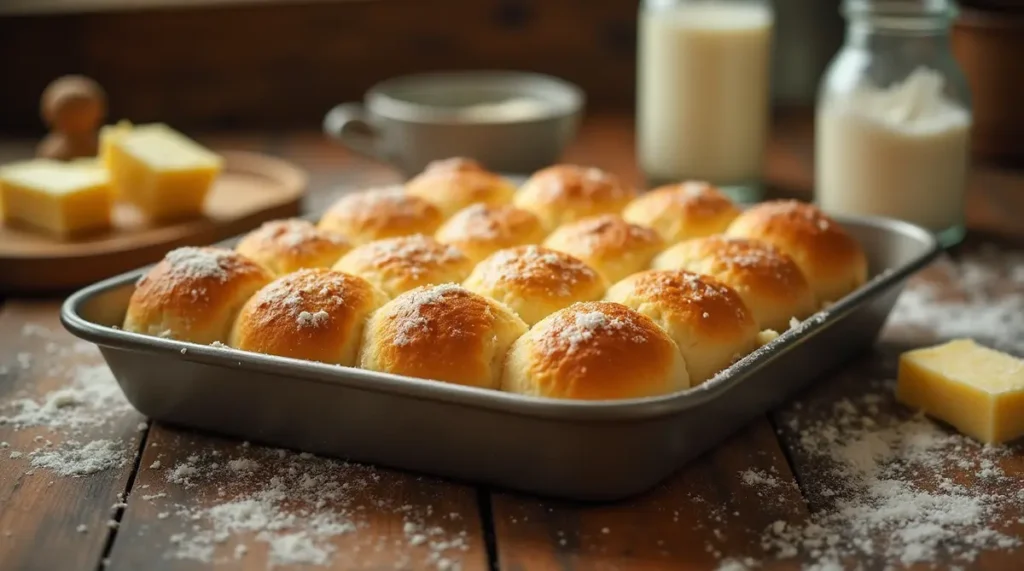
No-Yeast Dinner Rolls – the perfect answer to your baking needs when time is short or your pantry lacks yeast. Few things compare to the comforting aroma of freshly baked bread filling your kitchen, a scent that brings warmth and joy to any home. However, traditional bread recipes often come with lengthy proofing times, complicated steps, and the necessity of yeast. If you’re looking for a quicker, hassle-free alternative without compromising on flavor and texture, this recipe is exactly what you need.
These no-yeast dinner rolls are a game-changer for both beginner bakers and seasoned cooks alike. The recipe skips the yeast but still delivers rolls that are soft, fluffy, and golden brown with a deliciously tender crumb. In just a fraction of the time, you’ll have bakery-quality rolls ready to impress your family or guests. Whether you’re whipping up an elegant meal for a special occasion, preparing a casual family dinner, or trying to throw together a last-minute gathering, these rolls will fit the bill perfectly.
One of the most exciting aspects of this recipe is its incredible versatility. You can customize the rolls to suit your tastes by adding herbs, cheese, or even a hint of garlic for a savory twist. Pair them with soups, salads, or hearty main dishes—they’re the perfect accompaniment to nearly any meal.
So, if you’re ready to experience the magic of homemade bread without the hassle of yeast or long waiting times, let’s dive into this simple yet incredibly rewarding baking adventure. You’re just a few steps away from creating dinner rolls so good that everyone will be asking for the recipe!
Table of Contents
Ingredients for No-Yeast Dinner Rolls
| Ingredient | Quantity |
|---|---|
| All-purpose flour | 2 cups |
| Baking powder | 2 teaspoons |
| Salt | ½ teaspoon |
| Milk | 1 cup |
| Unsalted butter | 4 tablespoons |
| Sugar | 1 tablespoon |
Step-by-Step Guide to Making No-Yeast Dinner Rolls
1. Preparing Your Ingredients
Measure Accurately
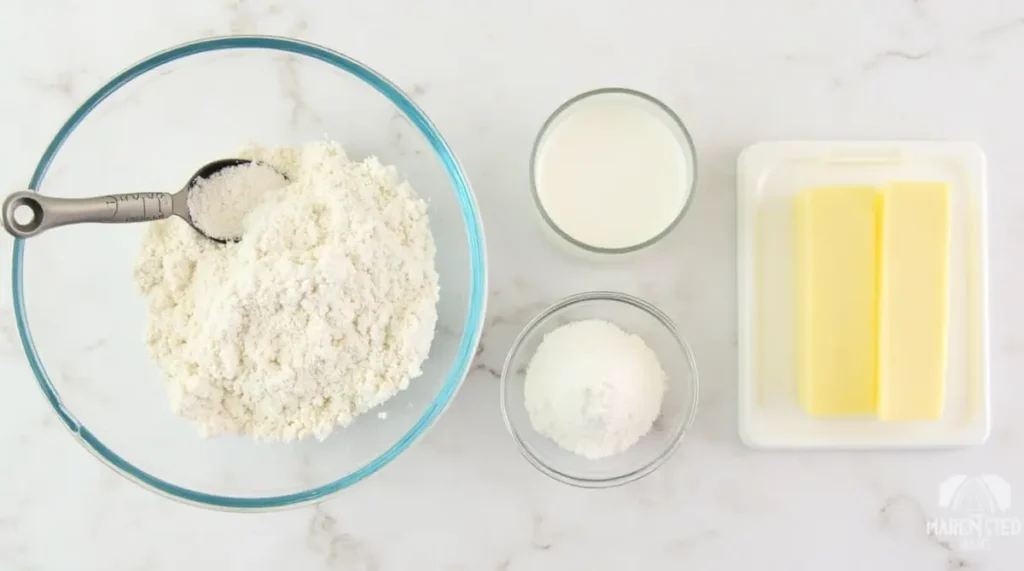
Use the exact quantities listed in the recipe for the best results. For dry ingredients, gently spoon items like flour into the measuring cup and level it off with a knife to avoid overpacking. For liquids, use a liquid measuring cup and check the measurement at eye level. Precise measurements ensure the dough has the correct consistency and yields soft, tender rolls every time.
Preheat Your Oven
Preheat your oven to 375°F (190°C). It’s important to start this process early, as baking in a fully heated oven ensures even cooking and a perfect golden crust on your dinner rolls. Skipping or rushing this step may result in unevenly baked rolls. Use an oven thermometer if you want to double-check the temperature for accuracy. Proper preheating sets the stage for great results.
Grease Your Baking Tray
Lightly grease your baking tray with butter, cooking spray, or a thin layer of oil. This prevents the rolls from sticking during baking and gives the bottom a crisp, golden finish. If you prefer easier cleanup, you can line the tray with parchment paper. Make sure to coat the entire surface, including the corners, for smooth removal of the rolls after baking.
2. Mixing the Dough
Combine Dry Ingredients
In a spacious mixing bowl, blend together the flour, baking powder, salt, and sugar. Use a whisk or a fork to mix them evenly, ensuring the baking powder and salt are distributed throughout. This step is crucial for consistent rising and flavor in the dough. Breaking up any lumps in the flour at this stage will help achieve a smooth dough later. Taking a moment to mix thoroughly sets the foundation for perfectly fluffy dinner rolls.
Gradually Add Milk and Melted Butter
Slowly pour in the milk and melted butter while stirring the dry ingredients. Adding them gradually helps the dough come together evenly without clumping. Stir with a wooden spoon or silicone spatula to combine the ingredients smoothly. Make sure the butter is melted but not hot, as extreme temperatures can affect the dough’s texture. This step brings moisture and richness to the rolls.
Mix Until a Soft Dough Forms
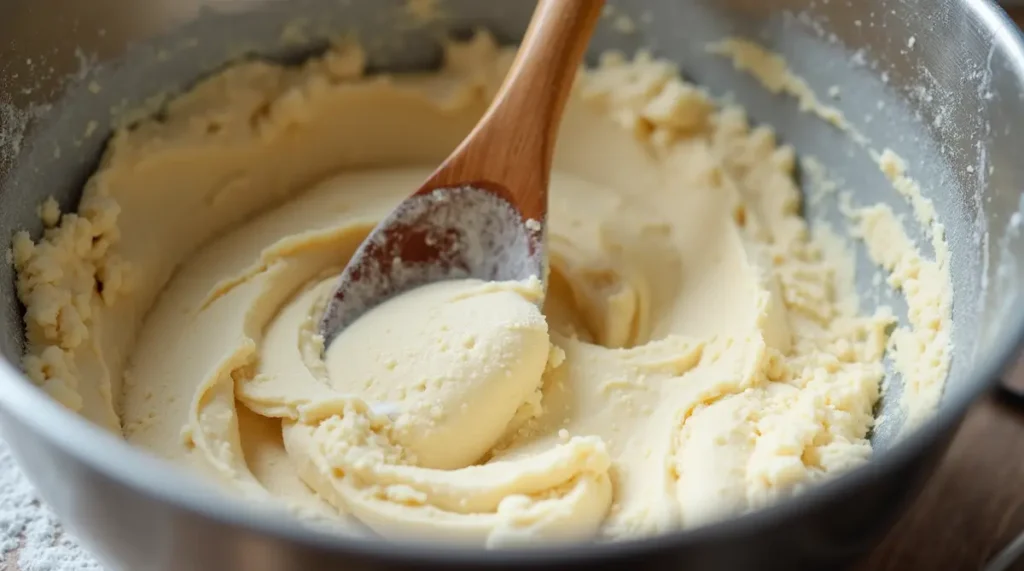
Continue mixing until the ingredients just come together into a soft, slightly sticky dough. Be careful not to overmix, as this can lead to tough rolls by overdeveloping the gluten. The dough should be soft and easy to work with, yet not too sticky. If needed, use your hands to gently gather the dough into a cohesive ball. Proper mixing at this stage ensures the rolls will bake up light and tender.
3. Shaping the Rolls
Divide the Dough into Equal Portions
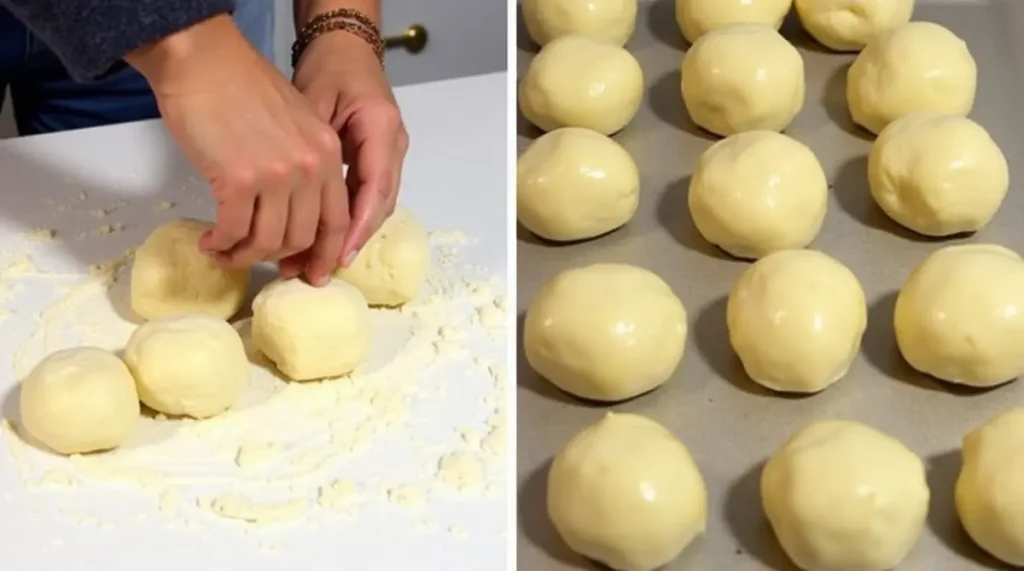
Take the dough and divide it into equal portions, aiming for about 8 to 10 pieces. This ensures all the rolls bake at the same rate and have a consistent size. You can use a dough cutter, your hands, or a knife to portion the dough evenly. Try to make each portion roughly the same size to guarantee uniform baking. Dividing the dough properly at this stage is key to ensuring every roll is perfectly baked.
Roll Each Portion into a Ball
Take each portion of dough and gently roll it into a smooth ball. Use your hands to shape the dough, pinching any seams underneath to create a smooth, taut surface on top. Rolling the dough into balls ensures an even rise during baking, resulting in soft, round dinner rolls. Be gentle to maintain the dough’s softness and avoid overworking it, which can affect the texture.
Place on the Prepared Baking Tray
Arrange the dough balls on the greased baking tray, leaving a little space between each roll. This space allows the rolls to rise and cook evenly, without merging into each other. The rolls will expand as they bake, so ensure they have enough room to grow. Placing them with care on the tray helps them maintain their shape and creates a uniform baking environment.
4. Baking the Rolls
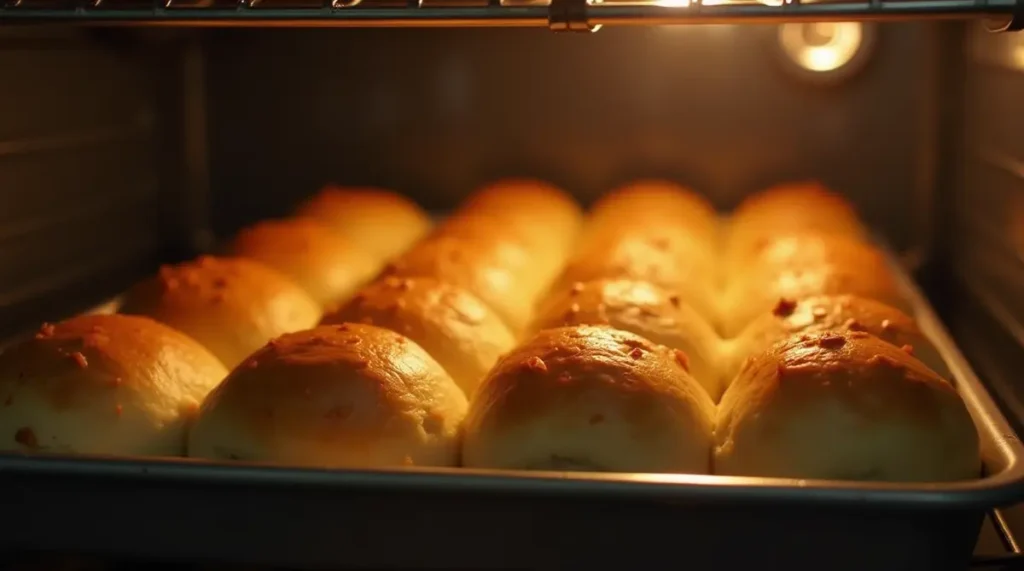
Brush the Tops with Melted Butter
Using a pastry brush, gently brush the tops of the rolls with melted butter. This adds flavor and helps achieve a beautiful golden-brown finish as they bake. The butter will also contribute to the rolls’ soft, shiny appearance. Be sure to cover the tops evenly, but don’t overdo it to avoid sogginess. This step will give the rolls a rich, mouthwatering aroma as they bake.
Bake for 18-20 Minutes
Place the baking tray in the preheated oven and let the rolls bake for 18 to 20 minutes, or until the tops become a light golden hue. Keep an eye on them, as baking times can differ slightly depending on your oven’s heat. The rolls should feel firm when gently touched, with a rich golden-brown color on top. This baking time ensures the rolls are fully cooked inside, maintaining a soft and airy texture, while the exterior develops a slight crispness for a perfect balance.
Remove from the Oven and Let Cool Slightly
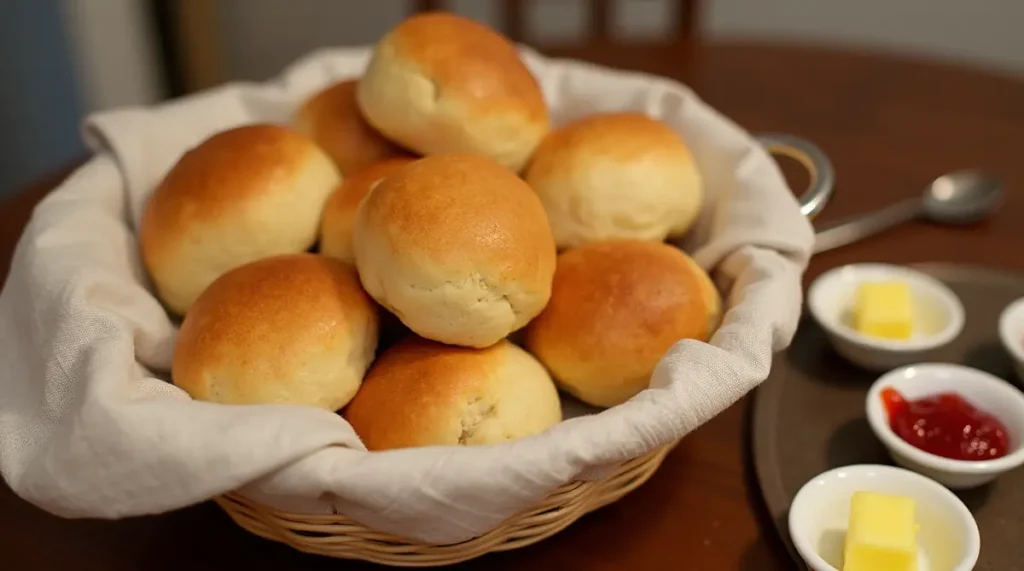
Once baked, remove the rolls from the oven and allow them to cool for a few minutes on the tray. Letting them cool slightly makes them easier to handle and enhances their flavor. For the best flavor, serve the rolls warm, though they’re also delicious at room temperature. Allowing the rolls to rest also ensures they hold their shape when served.
Tips and Tricks for Perfect No-Yeast Dinner Rolls
Use Quality Ingredients
For the best results, always use high-quality flour and fresh baking powder. The flour you choose can affect the texture and taste of your rolls, so look for a soft, all-purpose flour that will give your dough the perfect balance of structure and tenderness. Fresh baking powder ensures that your rolls rise properly, creating a light, airy texture. Using outdated or poor-quality ingredients can result in dense, uneven rolls. By investing in good ingredients, you’ll elevate the flavor and overall quality of your no-yeast dinner rolls.
Customize Your Rolls
For a savory twist, consider adding a sprinkle of fresh or dried herbs like rosemary, thyme, or even garlic powder to the dough. Herbs not only enhance the flavor but also add a fragrant aroma that will fill your kitchen as the rolls bake. You can mix them directly into the dough or sprinkle them on top before baking for an extra burst of flavor. This simple addition elevates the rolls and pairs perfectly with a variety of dishes, from soups to roasted meats.
For a cheesy variation, stir in shredded cheese into the dough to create a delicious, melty surprise inside each roll. Cheddar, mozzarella, or parmesan are excellent choices, depending on your preference. The cheese will melt into the dough as the rolls bake, creating pockets of gooey goodness. If you want extra cheese on top, you can sprinkle some shredded cheese just before placing the rolls in the oven for a golden, cheesy crust.
Storing Leftovers
- Store the rolls in an airtight container at room temperature, where they’ll stay fresh for up to 2 days.
- Reheat in the oven at 350°F (175°C) for 5 minutes to regain freshness.
FAQs About No-Yeast Dinner Rolls
Can I replace all-purpose flour with whole wheat flour?
Yes, you can, but keep in mind the texture may be a bit denser. For a balanced result, try using half whole wheat flour and half all-purpose flour.
What can I use as a milk substitute in this recipe?
You can use almond milk, soy milk, or even water in a pinch. However, milk adds richness to the rolls.
Why didn’t my rolls rise?
Since there’s no yeast, these rolls won’t rise significantly. Baking powder provides a light lift.
Conclusion
No-yeast dinner rolls are a game-changer for those who crave freshly baked bread without the wait. This simple, foolproof recipe ensures you’ll have warm, fluffy rolls on your table in no time. Try it out, customize it to your taste, and let the compliments roll in! Happy baking!
Ready to try this recipe? We’d love to hear about your baking journey—feel free to share your experience in the comments below! Don’t forget to pin this guide or bookmark it for your next baking session. Share the joy by passing this recipe along to your friends and family. Happy baking!

