Tropical Pineapple Ice Cream (Custard Rich and Scoopable!)
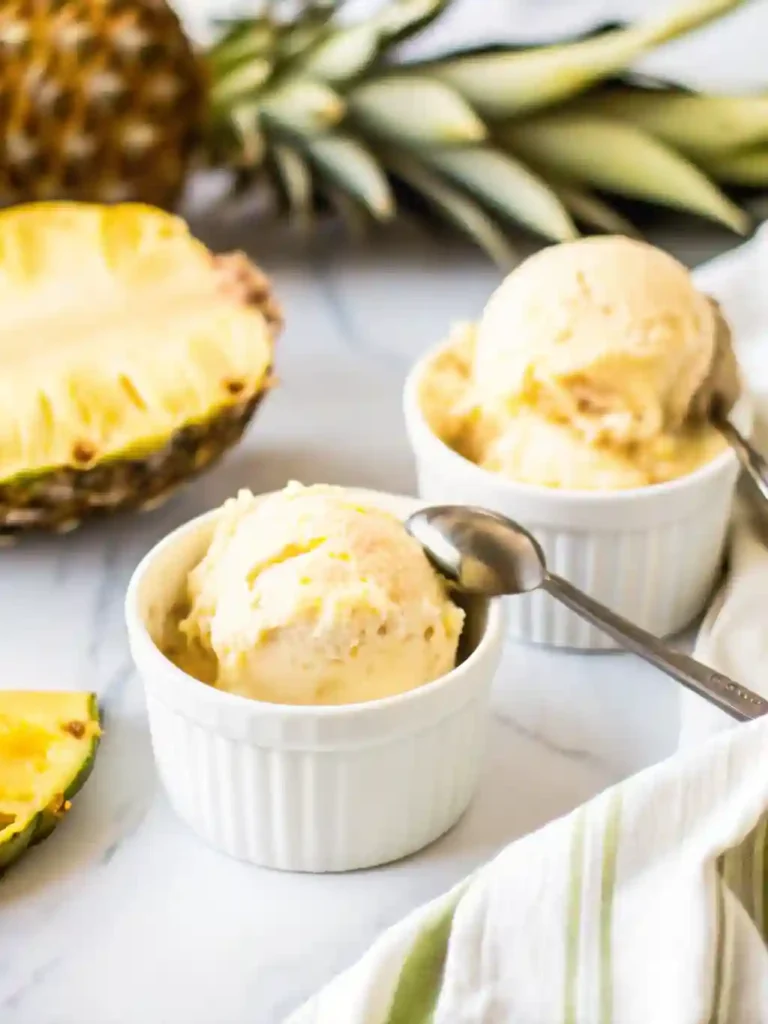
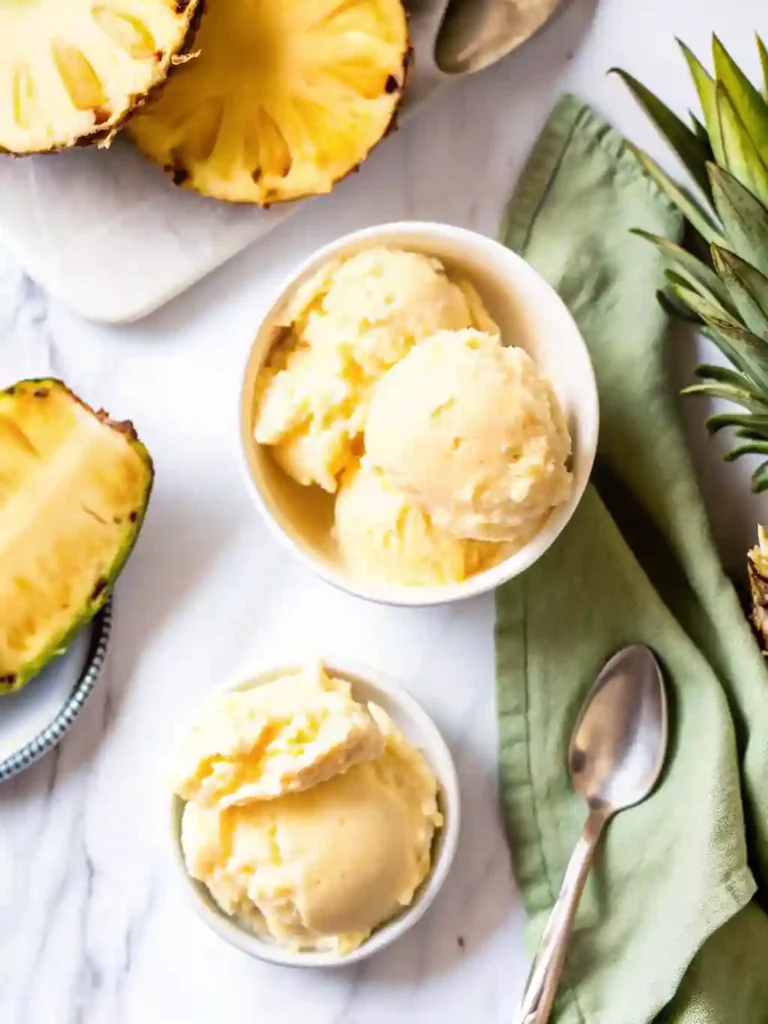
Pineapple ice cream isn’t just a dessert. It’s a mini vacation hiding in your freezer. With its creamy custard base and punch of real pineapple, this recipe brings together sunshine and indulgence in one chilled scoop.
Most store-bought versions miss the mark. They’re either too icy or weirdly artificial. This one is homemade, lush, and packed with real fruit you can actually taste. The egg yolks create a silky texture that stays soft enough to scoop without wrestling it out of the tub.
Whether you’re chasing summer flavors or just need a bright moment in the middle of an ordinary day, this ice cream is your answer. And the best part? You don’t need fancy equipment, just a bit of time and some curiosity.
Table of Contents
Why You’ll Love This Pineapple Ice Cream
Let’s be honest. Not all pineapple ice creams are created equal. Some taste like a melted popsicle. Others freeze into rock-solid blocks that require a chisel instead of a spoon. This one? It scoops like a dream and tastes like a tropical escape.
The magic lies in the custard base. Egg yolks and heavy cream give it a luxurious, spoon-coating richness that feels indulgent without being too heavy. Real pineapple—cooked just enough to deepen the flavor brings a fresh, tangy brightness that cuts through the cream like a breeze on a hot day.
What sets this apart is how versatile it can be. Serve it solo, swirl in toasted coconut, or pair it with shortbread cookies. Kids love the fruity punch, adults appreciate the balance. It’s the kind of recipe that makes guests ask, “Wait, you made this?”
Pineapple Ice Cream Ingredients
Before diving into the method, let’s talk about what goes into this tropical dream. Each ingredient has a job, and skipping or swapping them carelessly could shift the final result. Here’s what you’ll need for the perfect creamy scoop.
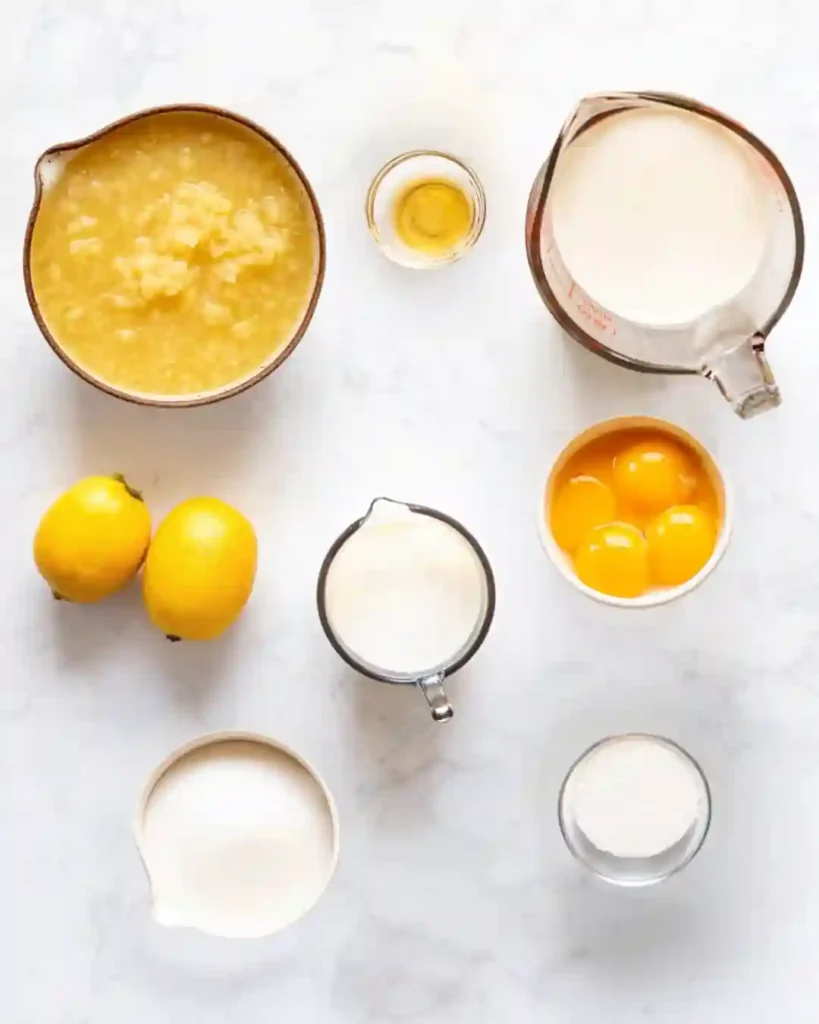
- Crushed pineapple: Use canned in juice or fresh if you want a slightly more textured flavor. Avoid pineapple in syrup since it’s overly sweet.
- Granulated sugar: Helps balance the tartness of the fruit and aids in the creamy texture.
- Lemon juice: Just a splash to lift the flavor of the pineapple without overpowering it.
- Heavy cream and whole milk: This combo gives you richness and scoopability without being overly dense.
- Egg yolks: The backbone of the custard, bringing a smooth, luxurious feel.
- Vanilla extract: Rounds everything out with a subtle warmth.
- Salt: Just a pinch to enhance all the other flavors.
Can I use fresh pineapple instead of canned?
Yes, fresh pineapple works beautifully. Just make sure to cook it down slightly to soften the fibers and mellow the acidity. Canned pineapple is more convenient, but fresh offers a bolder, juicier punch.
How to Make Pineapple Ice Cream Step by Step
This ice cream doesn’t just taste like summer, it feels like a little kitchen ritual worth repeating. The process is calm, methodical, and surprisingly forgiving if you stay focused on the timing. Here’s how it all comes together.
1. Cook the pineapple
In a saucepan, combine the crushed pineapple with sugar and lemon juice. Let it simmer gently for about five to seven minutes until it thickens slightly and the fruit softens. This step builds flavor and removes excess moisture that could turn icy later.
2. Warm the dairy
Pour the cream and milk into the pot with the cooked pineapple. Heat the mixture just until steam begins to rise. Do not let it boil. This primes the liquid for the next step.
3. Temper the egg yolks
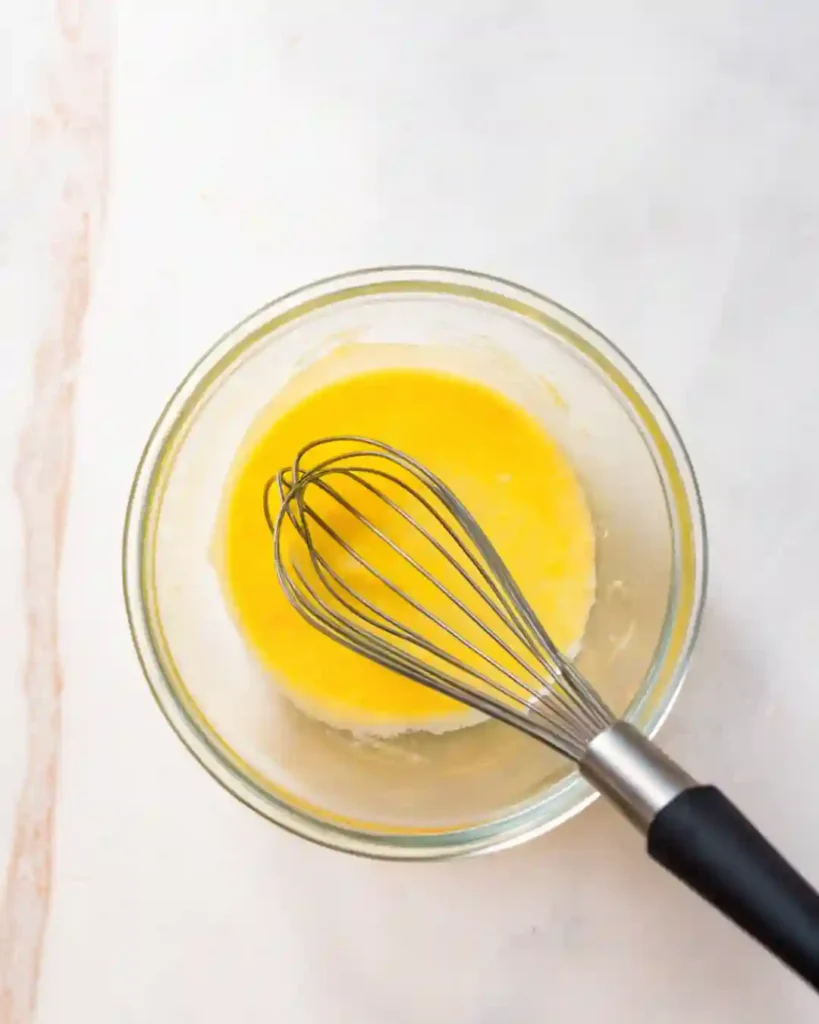
In a separate bowl, whisk the egg yolks. Slowly pour in a cup of the hot mixture, whisking constantly to avoid scrambling. Once combined, return the yolk mixture to the saucepan.
4. Cook the custard
Stir over medium heat until the mixture thickens enough to coat the back of a spoon. A kitchen thermometer should read around 170 degrees Fahrenheit. This thickened base gives the ice cream its signature texture.
5. Chill thoroughly
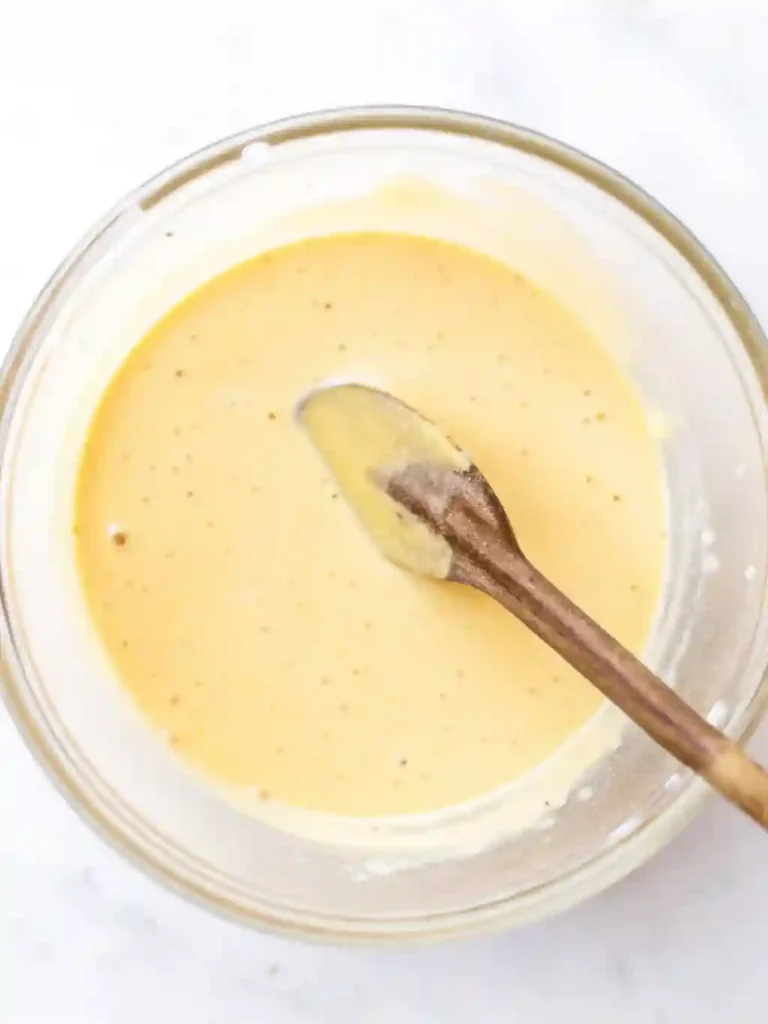
Remove the pan from heat and stir in the vanilla and a small pinch of salt. Pour the mixture into a bowl and let it cool at room temperature. Then refrigerate it for at least four hours or until fully chilled.
6. Churn and freeze
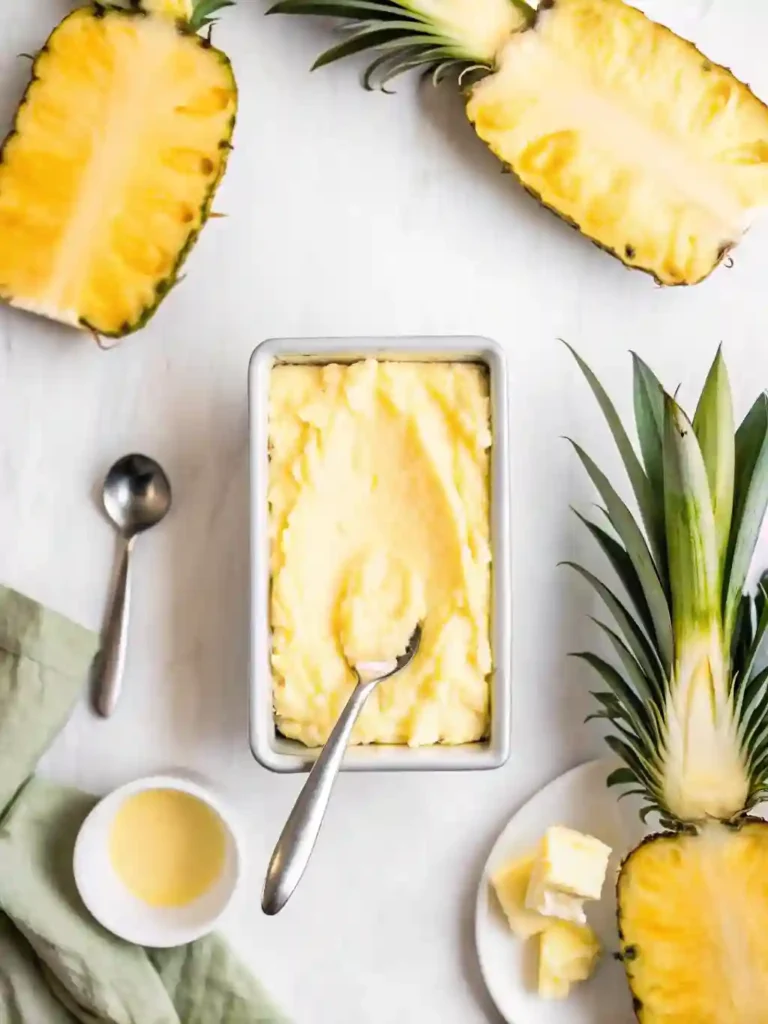
Once the base is cold, pour it into your ice cream maker and churn according to the manufacturer’s instructions. Transfer the soft ice cream into a freezer-safe container, cover it tightly, and freeze until firm.
What if I don’t have an ice cream maker?
You can still make it. After chilling the custard, pour it into a shallow dish and freeze. Stir every 30 minutes for a few hours to break up ice crystals. The result won’t be as smooth but still totally worth it.
Troubleshooting Pineapple Ice Cream
Even with the best intentions, homemade ice cream can surprise you. Maybe it comes out too icy, maybe it curdles a little, or maybe it just doesn’t taste quite right. The good news is that most of these issues are easy to fix with a few small tweaks.
Ice cream feels grainy or curdled
This usually means the custard got too hot or cooked too fast. Always stir constantly and use medium heat. If the eggs cook unevenly, you can strain the mixture through a fine mesh sieve before chilling to smooth it out.
Hard or icy texture after freezing
Homemade ice cream naturally firms up more than store-bought kinds. To help keep it scoopable, make sure your custard base is well chilled before churning. Adding a little alcohol like vodka or rum can also help lower the freezing point, but it’s optional.
Weak flavor
If your pineapple doesn’t shine, try simmering it a bit longer to reduce excess liquid and intensify the sweetness. A splash of pineapple juice concentrate can also add a pop of extra flavor.
Ice cream freezes too hard
Cover the surface with plastic wrap before sealing the container. This helps reduce air exposure and prevents the formation of icy crystals across the top layer.
My custard looked fine while cooking but turned lumpy after chilling. What happened?
That often means the eggs weren’t fully tempered or the custard was left on the heat a bit too long. It might still taste great, so don’t toss it. A quick blend using an immersion blender can smooth things out before churning.
Flavor Ideas and Creative Mix-Ins
Once you’ve mastered the basic pineapple ice cream, it becomes a blank canvas for some seriously fun upgrades. You can stick with tropical themes or go completely unexpected. The beauty of homemade ice cream is that you get to play with the flavors, textures, and surprises inside every scoop.
Tropical twist ideas
- Add toasted shredded coconut for a bit of crunch and warmth
- Swirl in mango or passion fruit puree for extra brightness
- Sprinkle crushed macadamia nuts or candied ginger on top
Dessert-inspired mashups
- Fold in chunks of shortbread cookies or golden Oreos
- Drizzle in white chocolate or marshmallow sauce before freezing
- Drop in mini cubes of pound cake for a pineapple-upside-down vibe
Spicy or savory edges
- Grate in a little fresh ginger or lime zest
- Sprinkle Tajín on top for a sweet-salty finish
- Add a tiny pinch of cayenne for subtle heat
Your freezer becomes a flavor lab where you’re the creator. Whether you want to impress guests or just surprise yourself with something new, these mix-ins bring new life to every batch.
Can I add mix-ins before churning?
It’s better to add solid mix-ins after the churning process, once the base has thickened. This keeps them from sinking to the bottom or interfering with the smooth churning motion. For sauces or swirls, you can gently fold them in as you transfer the ice cream to the container.
Storage Tips and Serving Suggestions
After all the effort you’ve put into making this pineapple ice cream, storing it properly will keep it tasting just as good a few days later. While homemade ice cream doesn’t have preservatives, a few smart habits can help it stay creamy and flavorful longer.
Storage tips
- Use a shallow, airtight container to help it freeze evenly
- Press plastic wrap directly onto the surface before sealing with a lid to prevent ice crystals
- Store it in the coldest part of your freezer, not the door where temperature shifts are more common
Serving tips
- Let the container sit at room temperature for about ten minutes before scooping
- Warm your scooper in hot water to make serving easier and cleaner
- Serve in chilled bowls to slow down melting and give a cleaner presentation
For an extra-special touch, consider pairing it with a slice of grilled pineapple or topping it with crushed vanilla wafers. A drizzle of caramel or honey over each scoop can also elevate the experience with very little effort.
How long does homemade pineapple ice cream last in the freezer?
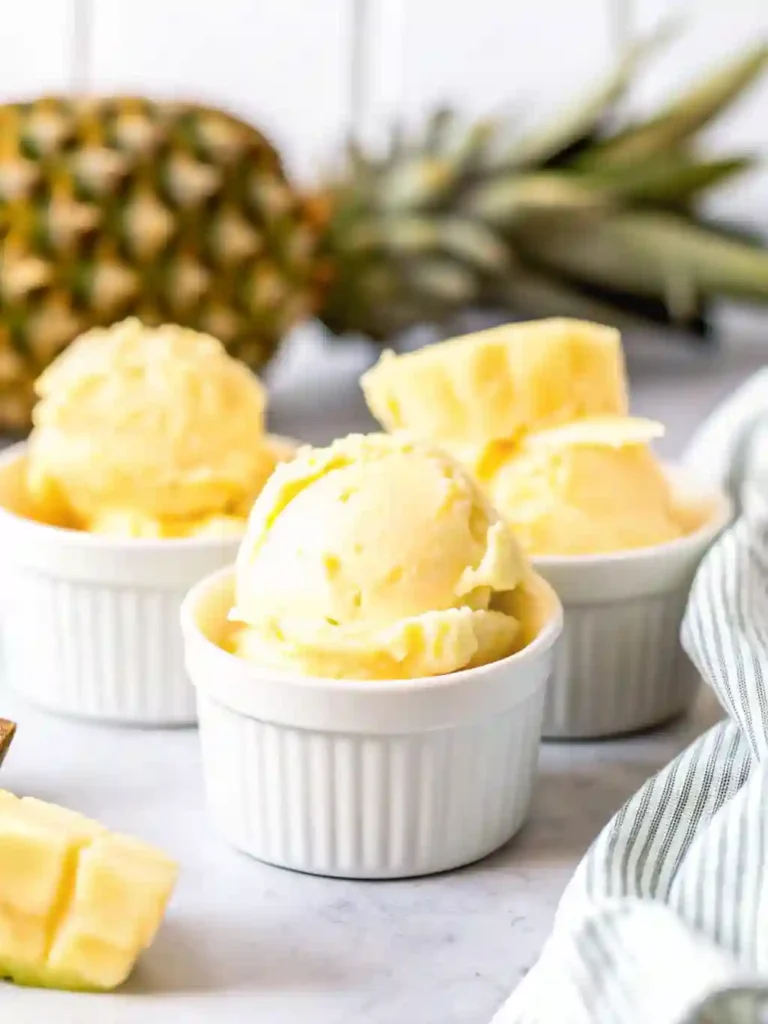
It is best enjoyed within one to two weeks. After that, the texture can change and the flavor may begin to fade. For the freshest taste and smoothest texture, aim to enjoy it within the first few days.
Nutrition Facts and Make-Ahead Tips
When you’re making your own ice cream, it helps to know exactly what you’re putting into your bowl. This pineapple ice cream is rich, fruity, and indulgent, but still gives you control over the ingredients. No additives. No mystery sweeteners. Just a handful of real foods coming together in a way that feels both satisfying and celebratory.
Basic Nutrition Per Serving
(Serving size: ½ cup)
- Calories: Approximately 240
- Fat: 15 grams
- Carbohydrates: 23 grams
- Sugar: 20 grams
- Protein: 3 grams
Keep in mind, this can vary depending on mix-ins or changes to the base. For a lighter version, you could try using half-and-half instead of heavy cream, though the texture may be slightly less creamy.
Make-Ahead Tips
This recipe is great for prepping in stages. You can cook the custard base one day, chill it overnight, and churn it the next. The finished ice cream also stores well, so it’s perfect for parties or quiet nights when you want dessert already waiting. Just remember to give it a few minutes on the counter before serving to bring back that perfect scoopable softness.
Can I make the custard base and freeze it before churning?
It’s best to churn the base while it is cold but not frozen. Freezing the liquid before churning will create ice crystals that can ruin the texture. If you need to delay the process, keep the base in the fridge for up to two days before churning.
Frequently Asked Questions About Pineapple Ice Cream
Sometimes even a simple recipe brings up unexpected questions. Whether you’re trying this for the first time or tweaking it to fit your style, here are answers to the most common things people ask when making pineapple ice cream at home.
Can I make this without eggs?
Yes, you can. The custard version adds richness and creaminess, but if you want an egg-free option, skip the yolks and use a mix of cream, milk, and sweetened condensed milk. The result will be lighter and a bit less dense, but still delicious.
Is it possible to use non-dairy alternatives?
Absolutely. Swap the milk and cream for coconut milk or another plant-based substitute with a higher fat content. The flavor will shift slightly, but it can create a fantastic tropical variation that still holds a creamy texture.
How can I make this lower in sugar?
Try using a sugar substitute that is designed for cooking, such as erythritol or monk fruit blends. Keep in mind that sugar also affects texture, so the final product may be slightly firmer.
Final Thoughts
Pineapple ice cream might seem like just another summer dessert, but once you make it from scratch, it becomes something more personal. It captures a little bit of joy in every spoonful. The blend of creamy custard and real fruit creates a balance that is both comforting and refreshing.
This recipe is perfect for sharing. Whether you serve it at a barbecue, bring it out for a movie night, or just enjoy it solo on a quiet afternoon, it has a way of making moments feel a little more special. There is something satisfying about making your own ice cream and knowing exactly what went into it.
If you try this recipe, consider printing it, saving it for next season, or sharing it with a friend who loves tropical flavors. And if you make any fun variations, leave a comment or tag your version online. Every scoop has a story.
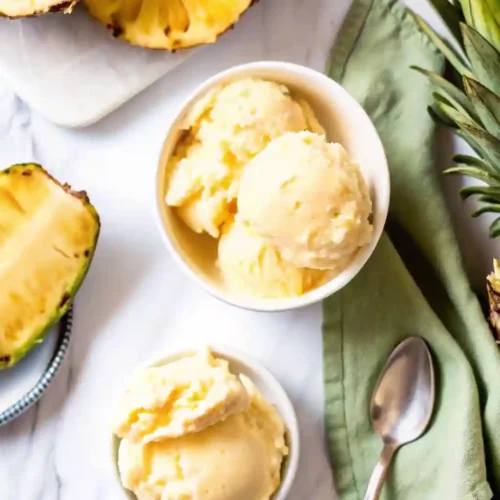
Creamy Pineapple Ice Cream
Equipment
- Saucepan
- Whisk
- Mixing bowls
- Fine Mesh Sieve
- Ice cream maker
- Spatula
- Freezer-safe container
Ingredients
Ice Cream Base Ingredients
- 1.5 cups crushed pineapple drained
- 3/4 cup granulated sugar
- 1 tablespoon lemon juice fresh
- 1.5 cups heavy cream
- 1 cup whole milk
- 4 large egg yolks
- 1 teaspoon vanilla extract
- 1/8 teaspoon salt
Instructions
- In a medium saucepan, combine the crushed pineapple, sugar, and lemon juice. Simmer over medium heat for 5 to 7 minutes until slightly thickened.
- Add the cream and milk to the saucepan. Heat until steaming but not boiling. Remove from heat.
- In a separate bowl, whisk the egg yolks. Slowly pour in 1 cup of the hot cream mixture while whisking to temper the eggs.
- Return the tempered yolk mixture to the saucepan. Cook over medium heat, stirring constantly, until thickened enough to coat the back of a spoon (around 170°F).
- Remove from heat. Stir in the vanilla extract and salt. Strain through a fine mesh sieve into a clean bowl.
- Cover and chill the custard for at least 4 hours or until fully cold.
- Churn the custard in an ice cream maker according to the manufacturer’s instructions. Transfer to a freezer-safe container and freeze for 4 hours or until firm.
Notes
Calories: 240
Carbohydrates: 23g
Protein: 3g
Fat: 15g
Saturated Fat: 9g
Cholesterol: 140mg
Sodium: 45mg
Potassium: 150mg
Fiber: 0g
Sugar: 20g
Vitamin A: 580 IU
Vitamin C: 6mg
Calcium: 90mg
Iron: 0mg
For more creative cooking & baking inspiration ideas, explore the Pinterest or connect with us on Facebook.


